Columns
Ray Tracing demo by Sean Kelly
Continuing my classic gaming theme from past labs, I chose to render a takeoff on Sega Genesis Columns for my final ray tracer demo.
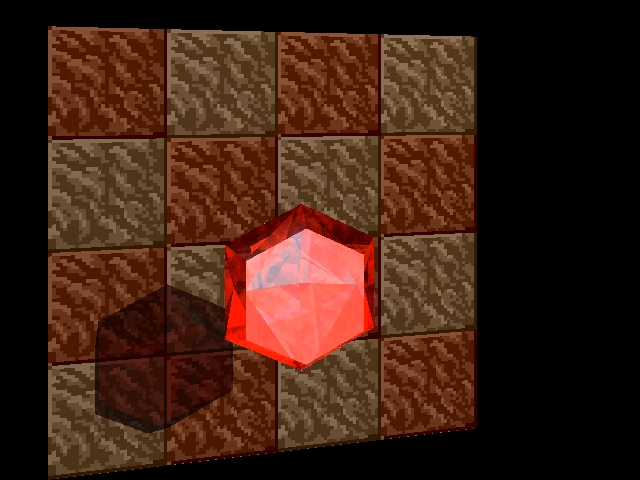
A lot of my renderer was fairly simplistic since I didn't have as much time to work as I'd have liked- no color weighting, no anti-alias, some kludgy algos, no (working) light attenuation. The one thing I did pay special attention to, however, was refraction and handling of transparent materials. The following are test renderings I did of all the gems in my final scene against a tiled background. Note the internal backface reflections/specularity and the tinted and faceted shadows (sorry, no caustics...).
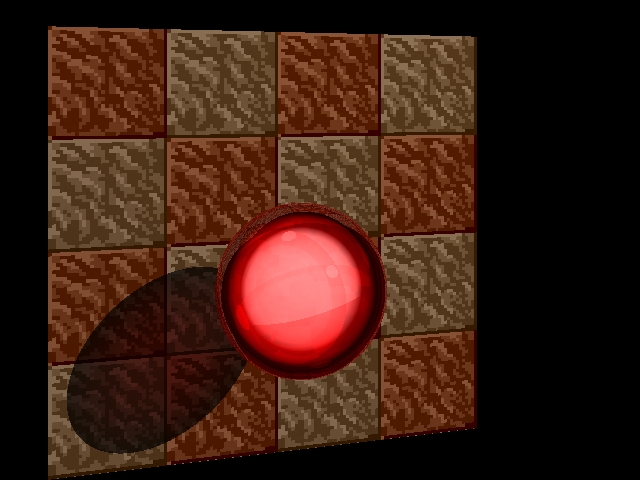
Ruby
Columns-sampled color: .65 0 0
Natural index of refraction: 1.76
Garnet (mandarin)
Columns-sampled color: .91 .26 0
Natural index of refraction: 1.8

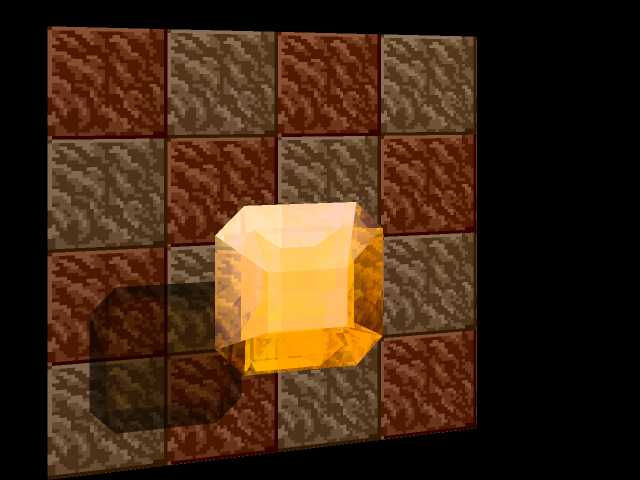
Topaz
Columns-sampled color: .91 .78 0
Natural index of refraction: 1.61
* displays faceted shadow best *

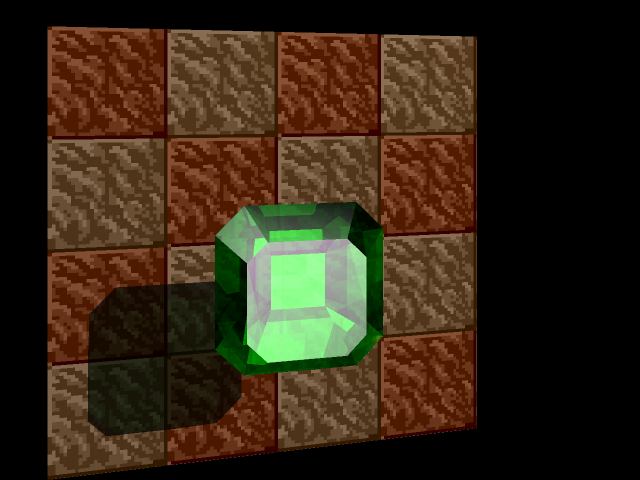
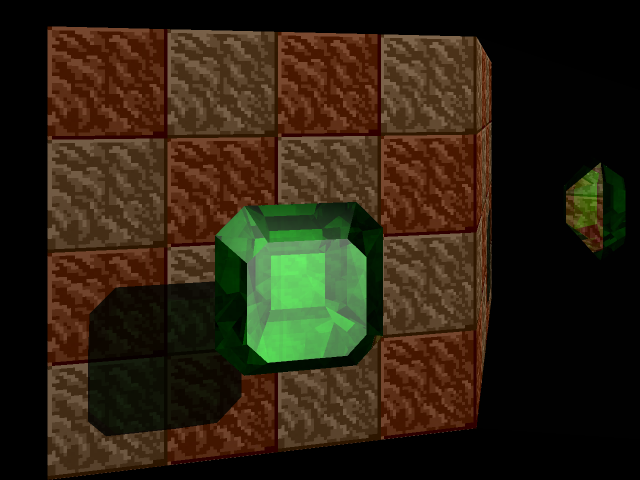
Emerald
Columns-sampled color: 0 .52 0
Natural index of refraction: 1.57
* displays backface/internal specular lighting best *

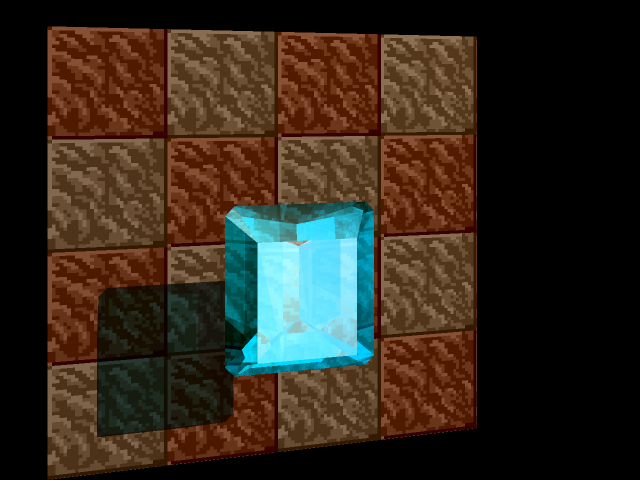
Aquamarine
Columns-sampled color: 0 .78 .91
Natural index of refraction: 1.59
* displays internal mirror reflection best *

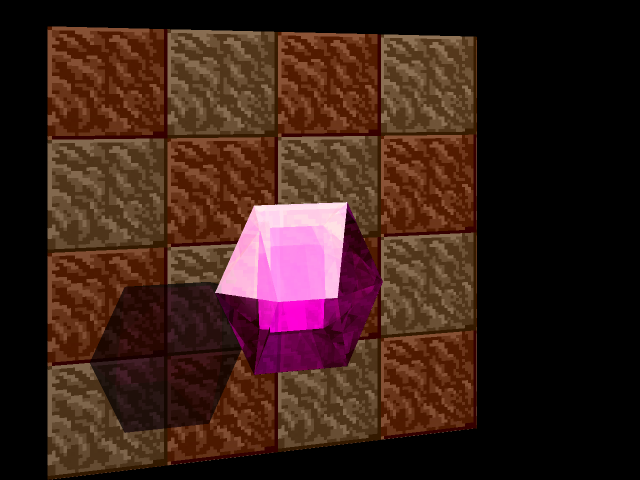
Amethyst
Columns-sampled color: .65 0 .65
Natural index of refraction: 1.54
* displays refraction best *
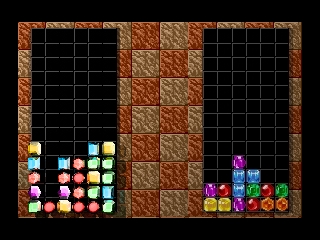
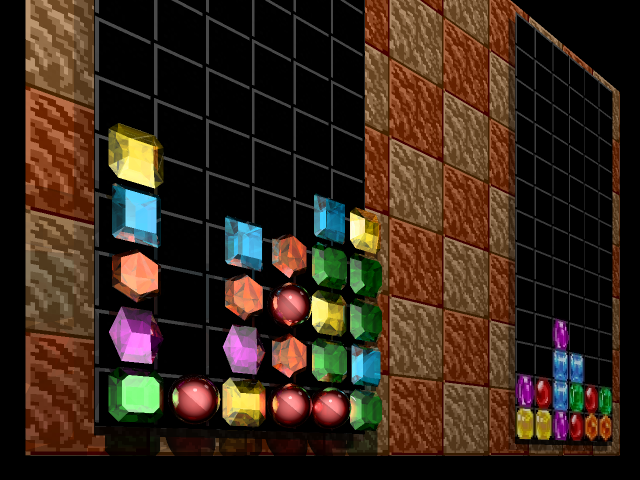
Individual gems are pretty good at 5 bounces. Whole scenes are not. With all the gems in there, even this full-board preview takes a minute or three to render at 5 bounces. This is a lousy angle lighting-wise, but it lets me see that everything is in place.
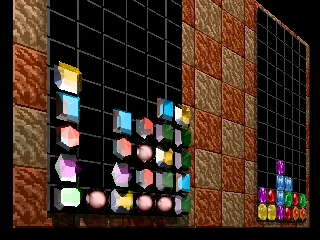
This is the 2-bounce preview of when I finally got the camera angle right for a cool demo shot. Even at 2 bounces, with all the gems in the foreground, render time was appreciable. Curse my not using spatial partitioning...
And this is what it was all for.
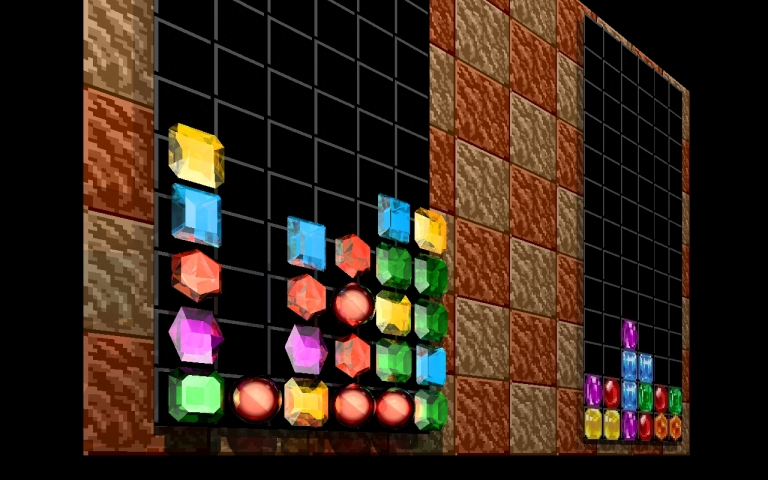
1280x800 pixels.
10 bounces.
1 hour, 55 minutes and 54 seconds.
If you doubt it was worth it, just check out the bottom-center topaz in all its glory (including its shadow). Dig those interreflections!
Postmortem
A week or so after this lab was due, I had a little time to play with it. It was a fun lab, so I decided to continue working on it a little. The first thing I added was simple 4-sample antialiasing. While this quadruples runtime if enabled, it was a simple change with significant results. (the change to PNG format for the images is due to the fact that, unlike the lab machines most of the code was written on, my own laptop never really took to the jpeg library installation, so I can't use jpegs as textures or output jpegs as screenshots)

Five of the six gem types at 640x480 with antialiasing enabled. Jaggies--!

The full image, at a reasonable size.
And this is what the full desktop looks like antialiased. My laptop took 4 hours 14 minutes and 53 seconds to render the unantialiased desktop. I didn't have the heart to time this one.
I knew from the start that my light blending functions were a cheap hack- just sum up all contributions (diffuse, specular, transmitted, reflected, ...) and normalize if any component was too bright to display. My second modification some weeks after the antialiasing was to implement some more sophisticated lighting. I had to tweak my material properties to keep the gem colors nice and bright, but the end result is subtly superior to the original.
Differences are subtle. The garnets are probably the most visibly affected gems in the full scene.
On the top is the old antialiased emerald closeup. On the bottom is the same image, plus a mirror on the right side, done in the new blending scheme. Note how the lower-right sides of the emerald are darker in the second image, with reflection dominating transmission due to the lower angle with respect to the camera.
